30-day returns4.7 · 900+ reviewsDesigned in Oregon
How to Make a Fiber Optic Costume: Planning, Sewing and Lighting It
Ants on a Melon Team6 min read
A fiber optic costume comes down to three decisions and some patient sewing: where the light hides, how the fibers travel across the garment, and where they end. This guide walks through the method that works for almost any outfit, then points you to three complete step-by-step builds: wings, a dress and a tail coat.
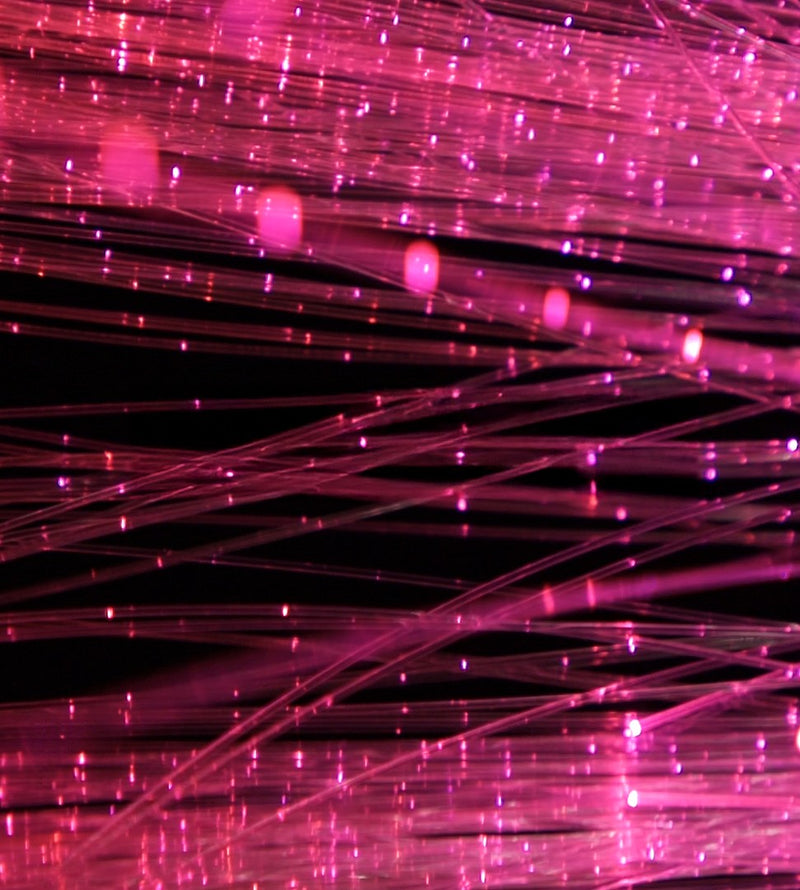
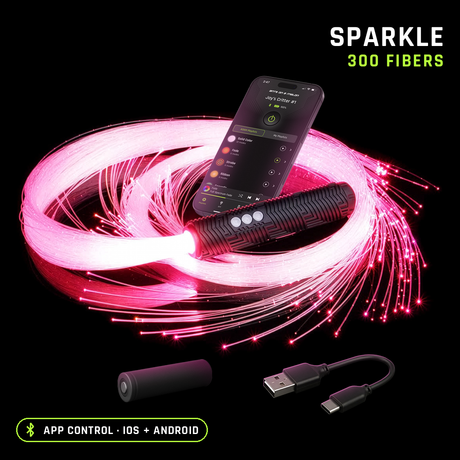
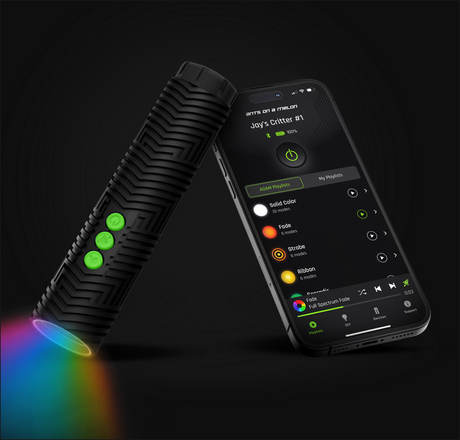
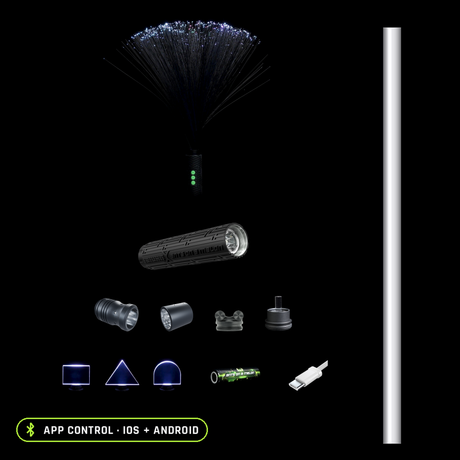
A bundle of fiber optic strands is gathered at one end into a cap that twists onto a light, here the RGB Critter BT. Light travels down each strand and comes out wherever a fiber is cut, so every tip becomes a point of color. The fibers themselves carry no electronics, which is why they drape and move like fabric.
The fiber comes in two kinds. End Glow puts crisp points of light at the tips; Sparkle leaks light along the whole strand for a twinkling look. Both cost the same, and our End Glow vs Sparkle guide covers how to choose.
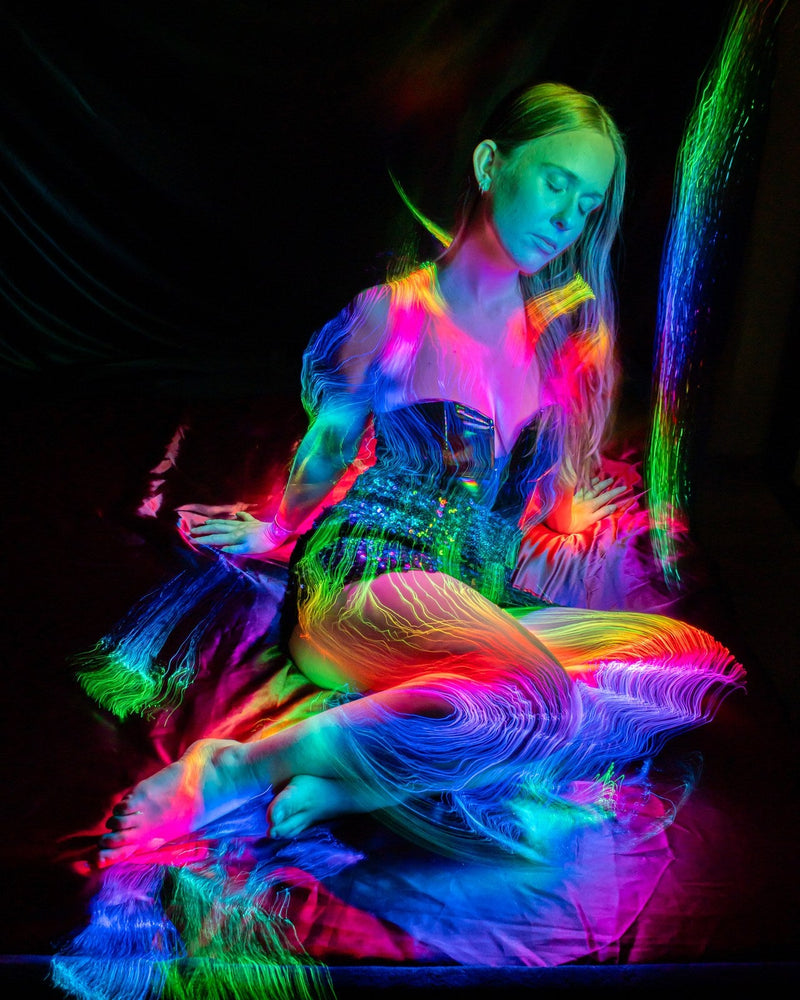
A fiber optic dress lit with the Costume Kit. Dress by NatalieA fiber optic dress made with the Costume Kit. Dress by Natalie Walsh; the dress itself is not included.nbsp;Walsh.
Step 1: decide where the light lives
One light means one pouch, and it usually sits at the center back, where the fibers can fan out over the shoulders, down the back or around the waist. Make it snug so the light doesn't twist, and plan how you'll reach the buttons and the USB-C charge port before you sew anything.
Plan any zipper or closure at the same time as the fibers. Sewn-down fibers can trap a side zipper shut, so a center back zipper with the pouch closing over it (a thin strip of Velcro works) is the safer layout.
Step 2: pick the bundle and the length
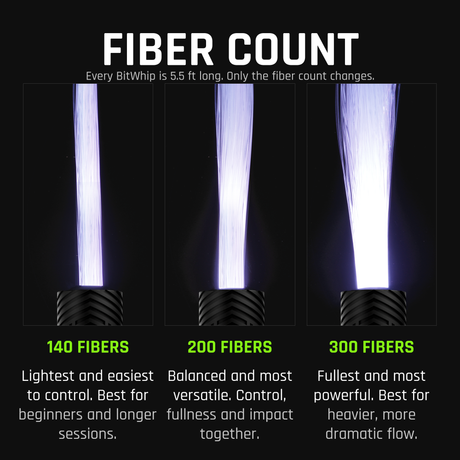
The kit comes as 360 strands at 6 ft, or 500 strands at 6, 8, 10 or 12 ft. For length, measure from the pouch to the farthest point you want to glow, along the route the fibers will actually take. The fibers can be cut to any length without losing brightness, so when in doubt, go longer and trim.
For density, count your attachment points first. On the wings build, 360 fibers spread across 46 holes, which works out to 7 or 8 fibers per hole. The tail coat used about 30 groups of 12. Doing that math before you start tells you how full each area will look.
Step 3: attach the fibers
Split the bundle into small groups of about 10 to 12 fibers and tie each group with string or yarn where its stitching will start. Pull them out one group at a time; combing the whole bundle at once tends to tangle it. Then pick the method that suits your base:
Sewing onto fabric. Use clear thread, or a light fishing line that's thin enough to knot. Where the fibers run dense, along straps and shoulders, sew them down in groups of about 30. Where they spread out, sew each small group down on its own. Tack them along the waist first to space them evenly.
Feeding through a stiff base. On leather or another firm base, punch holes, pull a group through each one, and tie it off at the tip with stretchy clear cord: two wraps, two tight square knots, and a drop of super glue.
Adding lift. Fibers lying flat on a garment look flat. A skirt stuffed with tulle or a tutu underneath gives them lift, and more lift means more swing when you move.
Sew any pouch to the outer layer only, never through a lining, or it will pull on the wearer.
Step 4: trim for light
Light comes out wherever a fiber is cut, so trim like a layered haircut to spread the points of light across the garment instead of leaving them all at one hem. A small nick or a scuff of sandpaper along a strand lets light out along its length too, if you want that look in places.
Step 5: power it and wear it
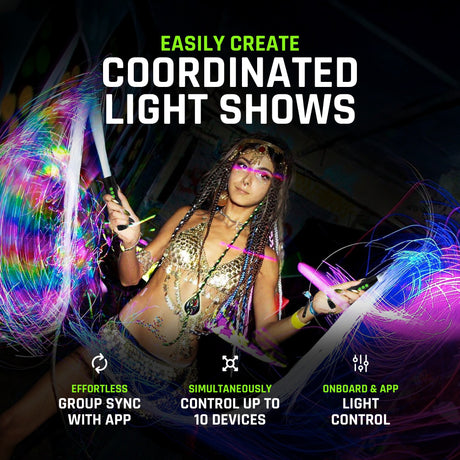
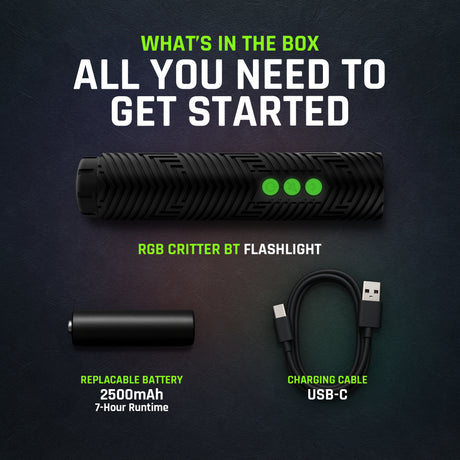
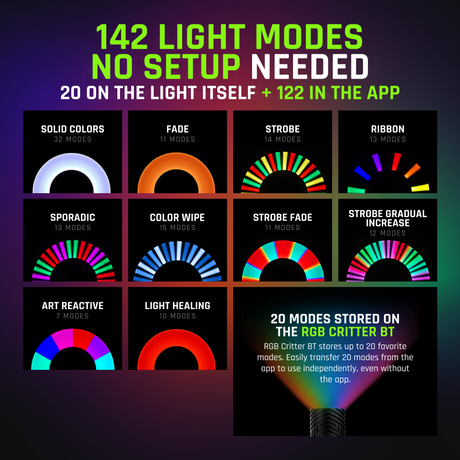
The RGB Critter BT runs about 7 hours of color on a full charge, so it covers most nights. For longer events, carry a charged spare 18650 ($9.95) and swap it in seconds. Change colors from your phone mid-party, or use the 20 modes stored on the light with no phone at all.
Two habits save a lot of trouble. Lock the buttons once you're dressed, by pressing the Arrow and Power buttons together while the light is on, so a hug doesn't change your mode. And before you pack the costume, hold the Power button for 1 second to put the light into deep sleep, or take the battery out for travel.
Three full builds to follow
Fiber optic tail coat: beginner friendly, 9 steps. Light up a coat you already own with basic sewing and a weekend of hand stitching. The best first project.
Fiber optic dress: intermediate, 19 steps. A circle-skirt jellyfish dress, with a shortcut if you buy the dress and start at the pouch.
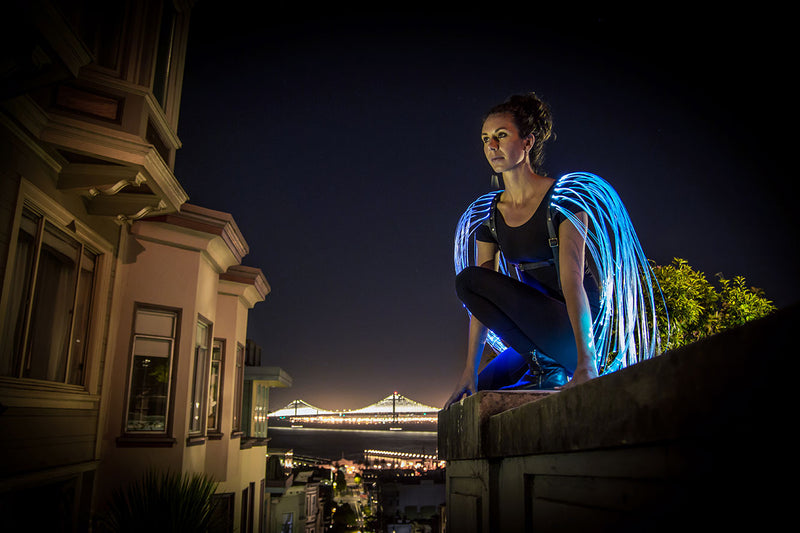
Fiber optic wings: advanced, 24 steps. A leather harness where the fibers themselves make the wing shape.
All three are by fashion designer Natalie Walsh and use the Fiber Optic Costume Kit. Short on time? Our Halloween costume ideas include quicker builds.
Kit or accessory?
Starting from zero
Fiber Optic Costume Kit, from $189.95
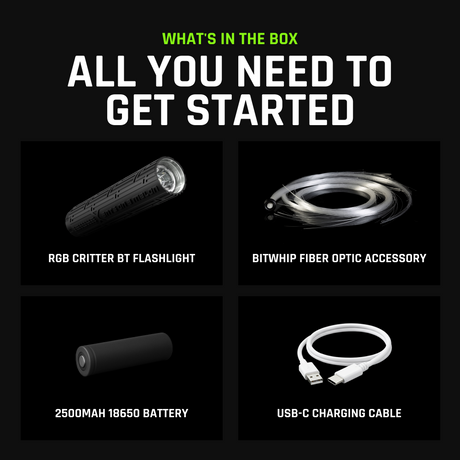
The fiber bundle plus the RGB Critter BT that lights it.
Already own an RGB Critter BT
Fiber Optic Costume Accessory, from $59.95
The fiber bundle on its own, End Glow or Sparkle.
Making your own piece
DIY Connector, $14.95
Mount a costume piece of your own design on a Critter.
Fiber optic costume FAQ
How many fibers do I need for a costume? The kit comes with 360 or 500 strands. Divide the bundle by the number of places you'll attach it: 360 fibers across 46 holes gives 7 or 8 per hole, which looks full on a pair of wings.
Can I cut fiber optic strands? Yes. The fibers can be cut to any length without affecting brightness, and light comes out wherever a fiber is cut, so trimming at different lengths spreads the points of light.
How do I attach fiber optic strands to fabric? Tie the fibers into small groups and sew them down with clear thread or light fishing line, in groups of about 30 where they run dense and on their own where they spread. On a stiff base, feed them through punched holes and tie them off with stretchy clear cord.
How long does a fiber optic costume stay lit? The RGB Critter BT runs about 7 hours of color on a full charge, and a spare battery swaps in seconds.
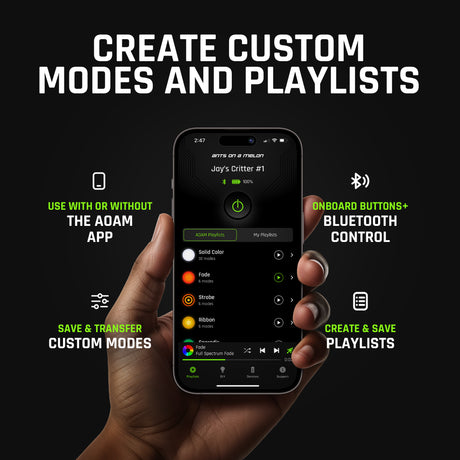
Can I change the colors from my phone? Yes. The free Ants on a Melon app changes colors and modes over Bluetooth, including mid-event, and the light also works on its own buttons with 20 stored modes.
Ants on a Melon team, Oregon
We make the Fiber Optic Costume Kit and the RGB Critter BT that lights it. The build methods here come from Natalie Walsh's three costume guides, shared with her permission.
Choosing a selection results in a full page refresh.
*New customers only. Single use, one per customer. Excludes sale items, gift cards and warranty. Cannot be combined with other discount codes or promotions.
Added To Cart
Special Price
Complete your setup:
International Shipping Restriction
This lithium-ion battery cannot be shipped internationally and cannot be added to your cart.
You can purchase the required battery locally with these specifications:
18650
Lithium-ion
3.6V nominal
Unprotected
Flat top
18.3mm diameter × 65.0mm length
Do not purchase protected, button top, 3.2V, or 1.5V cells.
Ants on a Melon is not responsible for batteries purchased from third-party sellers. Please verify specifications and use only high-quality lithium-ion cells from reputable brands.
LIFETIME WARRANTY
Every item in your order, for life.
Our gear comes with a 2-year warranty. This upgrade extends every item in your order to lifetime.
WHAT YOU ALREADY GET
2 years on everything in your order, free. Batteries have their own 60-day warranty, and the Orb has no warranty.
WHAT THIS ADDS
If anything in this order fails from a defect, we repair or replace it for as long as you own it.
NO HASSLE CLAIMS
Email us photos or a short video. Most repairs are back out in 2 to 3 working days.
NOT COVERED
Physical damage such as a cracked or crushed housing, loss, theft, broken fiber strands and normal battery wear.
International duties & VAT
A quick heads-up for orders shipping outside the US.
Set by your destination
Import duties and VAT are charged by your country's customs, not by Ants on a Melon.
Paid on delivery
Your carrier collects any charges when they deliver. Amounts vary by country.