Best Camera Settings for Light Painting: ISO, Aperture and Shutter Cheat Sheet
 8 min read
Start at ISO 200, f/8, a 15 second shutter, manual focus, Daylight white balance. That single line answers most of the question - but light painting exposure runs backwards from normal photography, and the biggest one is that the shutter does not control how bright your trails are. We are Ants on a Melon - we design light painting tools in Oregon and shoot with them constantly - and this is the settings reference we wish we had found when we started: the base recipe, a cheat sheet for five common scenarios, and the classic failures with their actual fixes. Every number here is a starting point, not a law; the frame on the back of your camera outranks all of them.
The short version
Start here
ISO 200, f/8, 10-25 seconds
Manual mode, manual focus, Daylight white balance, RAW on. Change one setting at a time from this base.
Base recipe
Trails too bright?
Stop down, do not shorten
Aperture and ISO set trail brightness. The shutter only sets how long you can draw, so shortening it just cuts your drawing time.
f/11 first
Colors wrong?
Fix the white balance
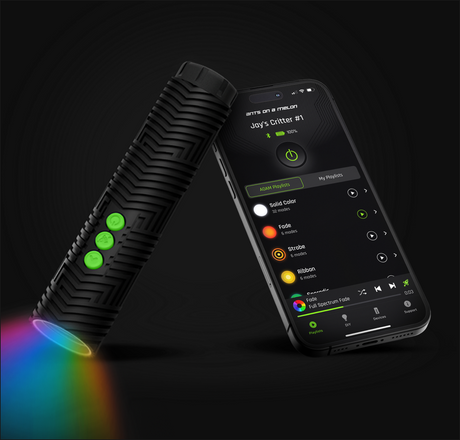
Auto WB re-guesses every frame. Lock it to Daylight and the color you set on the light is the color you get. Our app-controlled RGB Critter BT sets that color from your phone.
Daylight WB
The base recipe: set it once, then leave the camera alone
- Mode: full manual. Every automatic mode will try to "fix" a dark frame, and the dark frame is the point.
- Shutter: 10 to 30 seconds, or Bulb. Long enough to finish the drawing. Bulb holds the shutter open for as long as you hold the release, which is the right tool once a drawing outgrows 30 seconds.
- Aperture: f/8. A forgiving middle: enough depth of field to cover small focus errors, enough light for a strong trail.
- ISO: 100 to 400, starting at 200. Your light source is bright and close; you rarely need more, and low ISO keeps the blacks clean.
- Focus: manual, set with a light standing on the subject mark. Put a lit flashlight where the action will happen, autofocus on it, then switch the lens to manual so it cannot hunt once the scene goes dark.
- White balance: Daylight. Fixed, so your colors stay true. More on this below.
- File: RAW. Bright trails push highlights hard, and RAW keeps them recoverable.
If any of this is new territory, our light painting photography tutorial walks the whole workflow from tripod to edit, and the seven core techniques give the recipe something to draw.
The cheat sheet: five scenarios, one row each
| Scenario | Shutter | Aperture | ISO | Why |
|---|---|---|---|---|
| Writing a word in a dark room | 10-15s | f/8 | 200 | Enough time to write; the light is close and bright |
| Light orbs | 20-30s | f/8 | 200 | The shutter must outlast one full spin-and-turn |
| Large outdoor scene | 30s or Bulb | f/5.6 | 400 | Light spread across a big space reaches the sensor dimmer |
| Portrait with light wrap | 8-15s | f/4 | 200 | Wider aperture renders the subject; shorter time keeps them sharp |
| Bright-ambient urban | 5-10s | f/11 | 100 | Ambient light builds the whole exposure; keep it short and small |
These are starting points, and they assume a bright handheld light within a few meters of the lens. Shoot the row, look at the frame, then change one thing. The two rows people ask about most have full step-by-step tutorials of their own: light writing (including the mirror-writing trick) and light orbs (the spin-and-turn, with its own troubleshooting table).
The one concept: the shutter does not set trail brightness
In daylight photography, a longer shutter means a brighter picture. In light painting, the trail is a moving light source: each patch of sensor only sees it for the instant it passes. How bright that trail records is decided by the light's output, its distance, how fast it moves, and what your aperture and ISO do with it. The shutter decides something different: how long you get to draw, and how much ambient light stacks up behind you.
This is why the fixes run the way they do. Blown-out trails? Stop down or drop ISO - a shorter shutter would leave the trail exactly as bright and give you less time to finish the shape. Trails too dim? Open up, raise ISO, slow the light down or bring it closer. Background creeping in? That one, and only that one, is the shutter's fault: shorten it, or find real darkness.
White balance: fixed, so your colors survive
Auto white balance looks at each frame and guesses. Feed it a black frame with a saturated magenta trail and it will guess wrong, differently, every shot - your carefully chosen colors drift warm, then cool, then gray. Set Daylight and leave it. LED colors then record as chosen, and a whole session matches, which matters the moment you try compositing or stacking frames (covered in advanced light painting techniques). Shooting RAW makes white balance losslessly correctable afterward, but a fixed setting means there is nothing to correct.
Focus in the dark: borrow light, then lock it
Autofocus needs contrast, and a dark scene has none, so focus before the scene goes dark. Stand a lit flashlight on the exact spot where the action will happen, autofocus on it, then flip the lens to manual and do not touch the ring again. No helper light handy? Magnify live view on any distant point light and focus by eye. And if focus is still nervous, remember f/8 buys you depth of field on both sides of the mark - it is the most forgiving aperture in the recipe for a reason.
Common failures, and the fix that actually works
- Overexposed, blown-white trails. Stop down to f/11 or drop to ISO 100. Do not reach for a shorter shutter - it does not dim the trail, it only cuts your drawing time. If only colored trails turn white down the middle, one color channel is clipping; here is why colored light trails turn white.
- Weak, washed-out trails. Too much ambient light competing with the trail. Find darker surroundings, close the aperture against the ambient, or wait for full dark - a trail only looks bright against black.
- Hot pixels on very long exposures. Sensors warm up over long exposures and bright single pixels appear. Long exposure noise reduction fixes it by shooting a matching dark frame, at the cost of doubling each wait; stacking several shorter exposures is the workaround pros use.
- Star trails when you wanted static stars. The sky moves. On a wide lens, much past 20 to 25 seconds the stars start streaking; shorten the exposure and raise ISO if the backdrop matters to the shot.
- Blurry subject in a portrait. They moved, because everyone moves. Give them something to lean on, keep the exposure at the short end, and paint around them quickly.
The light matters as much as the camera
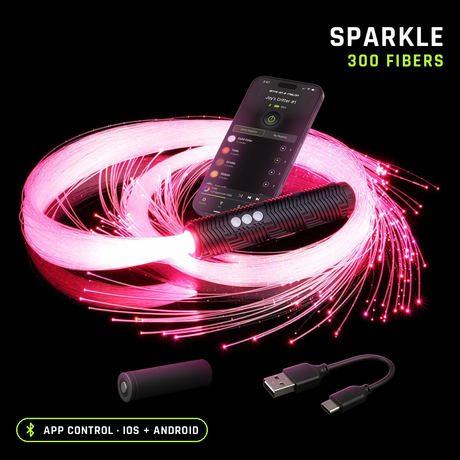
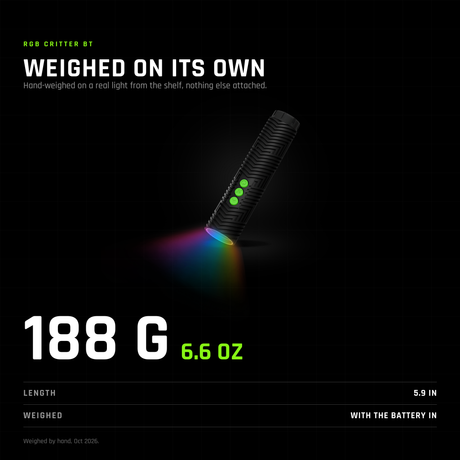
Every row in the cheat sheet assumes you can control the brush. A light with fixed output forces the camera to do all the adjusting; a light with controllable brightness and color lets you fix a hot trail at the source and keep the camera settings that were working. That is the whole reason we designed the RGB Critter BT: 170 lumens, app-controlled, 16.7 million colors, 145+ modes and unlimited custom playlists, so an exact color at an exact brightness is repeatable across a whole session (and it works without the app too). It also runs up to 7 hours on a charge, which outlasts any settings experiment. For an honest comparison of options, including ones we do not make, read the best light painting flashlights in 2026; to size a full kit, see which RGB Critter kit is right for you.
Gear you'll want
The light these numbers were written around
$149.95. App-controlled, 170 lumens, 16.7 million colors, 145+ modes; works without the app, and powers 200+ twist-on tools.
Starting from zero
Light Painting Photography Kit for Beginners
$199.95, which costs less than buying the pieces separately.
A photographer ready to go deep
$421.95; when the whole studio should glow, the Light Painting Pro Kit is $971.95.
Light painting camera settings FAQ
What settings should I start with for light painting?
Manual mode, ISO 200, f/8, a 15 second shutter, manual focus and Daylight white balance, shooting RAW. Adjust one setting at a time from there based on what the frame shows you.
Why are my light trails overexposed?
Because trail brightness is controlled by aperture, ISO and the light itself, not by the shutter. Stop down to f/11 or drop ISO to 100; shortening the shutter just cuts your drawing time without dimming the trail.
What white balance is best for light painting?
A fixed setting, usually Daylight. Auto white balance re-guesses every frame and shifts your colors between shots; a fixed setting keeps the color you picked on the light.
When should I use Bulb mode?
When the drawing takes longer than 30 seconds, or when you want the exposure to end the moment you finish. Bulb holds the shutter open as long as the release is held, so trigger it with a remote to avoid shake.
Should I shoot RAW for light painting?
Yes. RAW keeps highlight detail in bright trails recoverable and lets you correct white balance afterward without damage. Card space is the only cost.
Why do my stars streak during light painting?
The earth rotates. On a wide lens, exposures much past 20 to 25 seconds start rendering stars as short trails. If you want pinpoint stars behind your light painting, shorten the exposure and raise ISO to compensate.