How to Photograph a Fiber Optic Whip: Settings That Work the First Time
 7 min read
To photograph a fiber optic whip, put the camera on a tripod in a dark spot, set ISO 200, f/8 and a 5 to 15 second shutter, focus manually on where the whip will be, and spin. One long exposure turns every pass of the whip into a ribbon of light. We make the BitWhip and shoot it constantly, so here are the settings, the choices that change the look, and the fixes for the photos that come out wrong.
The gear: less than you think
- A camera with manual mode. Any mirrorless or DSLR works, and many phones have a manual or long exposure mode.
- A tripod. The camera has to stay perfectly still while the shutter is open, or the whole frame smears.
- A remote or a 2-second timer. Pressing the shutter by hand shakes the camera at the start of the exposure.
- A whip and a dark place. A park at night, a garage or a quiet street all work. The darker the background, the cleaner the trails.
Two kinds of whip photo: pick one first
Decide what the picture is about before you touch a setting, because the two looks need very different exposures.
- Trails only. A dark scene where the light is the whole picture and the performer barely shows. Long exposure, 5 to 15 seconds, low ISO.
- Performer and trails. You can see the person and the light around them. Short exposure, about 1/4 of a second to 2 seconds, with some ambient light or a flash to show the performer.

Settings for trails only: start here
- Mode: full manual. Automatic modes try to brighten a dark frame, and the dark is the point.
- Shutter: 5 to 15 seconds. Short enough to catch a few clean passes, long enough to fill the frame. Go longer if you want the trails to pile up into a dense cloud.
- Aperture: f/8. Forgiving on focus, with plenty of light for strong trails.
- ISO: 200. A whip is bright and close, so you rarely need more.
- Focus: manual. Stand the performer on their mark with the light on, autofocus on it, then switch the lens to manual so it cannot hunt in the dark.
- White balance: Daylight, so the color on the whip is the color in the photo. Shooting RAW means you can still change it later.
- File: RAW, because bright fiber pushes the highlights hard.
For performer and trails, start around 1 second, f/5.6 and ISO 100 to 400, and shoot at dusk. Twilight is far easier than total darkness: the sky and the performer both hold detail while the whip still glows. The good light only lasts a short while after sunset, so be set up before it starts.
Change one setting at a time from there. If the trails are too bright, close the aperture to f/11 or lower the brightness on the light; shortening the shutter only cuts the spin short. Our camera settings cheat sheet has the full troubleshooting table.
Showing the performer, not just the light: three ways
In a pure long exposure, the person spinning the whip mostly disappears, because they are dark and moving. Sometimes that is exactly the look you want. When it is not, try one of these.
- A little ambient light. Shoot at dusk or near a streetlight so the performer shows up as a soft, ghostly figure inside the trails.
- A flash at the end. Set the flash to rear-curtain sync, so it fires just before the shutter closes. The trails build up first, then the flash freezes the performer sharp in the middle of them.
- Hold still for a beat. Ask the performer to pause for a second at the end of the exposure with the whip lit near their face. It is low-tech and it works.

Framing the shot: small things that help
- Frame the scene first, then add the performer. Get the background right while there is light to see it.
- Step back and zoom in. A whip swinging close to a wide lens bends and stretches. A little distance and a longer focal length keep the shapes true.
- One simple move, repeated. A single clean pattern photographs far better than a combo. In Bulb mode you can close the shutter the moment the pattern finishes, so it does not overlap itself.
- Check focus magnified. Zoom in on the screen after your first frame, and check again whenever the performer changes their mark.

Choices that change the look: fiber, color and speed
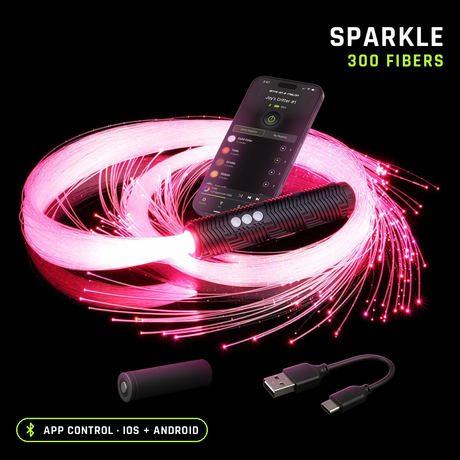
End glow vs sparkle. End glow fiber throws its light out of the tips, which photographs as crisp, clean lines. Sparkle leaks light along the whole strand for a softer, fuller band. Both are the same price on the BitWhip, and our End Glow vs Sparkle guide has side-by-side photos.


200 End Glow
200 Sparkle
Fiber count. More fibers means a denser ribbon in the photo. 300 fibers gives the fullest trail; 140 gives finer, more separated lines.
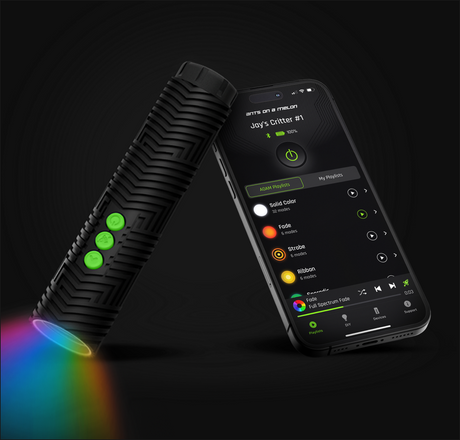
Solid color vs modes. A solid color prints as one smooth trail. A mode that flashes or strobes prints as a dashed or beaded line, and a fading mode turns into a gradient along the ribbon. The RGB Critter BT inside the BitWhip has 20 preinstalled modes and 16+ million colors, so try a few and see what each one draws.
Spin speed. Faster spins lay down more passes in the same exposure. Slow, wide moves give fewer, bolder shapes that are easier to read in a photo.
Photos that went wrong: the fixes
- Everything is blurry, including the background: the camera moved. Use the tripod and a remote or timer.
- The trails are a white blob: too much light. Lower the whip brightness, close the aperture to f/11, or drop the ISO to 100.
- The colors look wrong: auto white balance is re-guessing every frame. Lock it to Daylight.
- The trails are sharp but faint: open up to f/5.6 or raise the ISO to 400.
- The performer is out of focus: focus was hunting in the dark. Focus on a lit subject first, then switch to manual.
Using a phone: it works
You do not need a big camera. Put the phone on a small tripod and use its manual or long exposure mode, or a slow shutter app. On recent iPhones, a Live Photo can be turned into a Long Exposure afterward in the Photos app. Phone lenses gather a lot of light, so keep the ISO low and turn the whip's brightness down if the trails come out fat and white.
For video, the whip looks the way it does to your eye rather than stacking into trails. Film in dim light rather than total darkness so the performer's silhouette reads, and try slow motion for the fast flicks. Our fiber optic whip tutorial has more on filming flow.
Settings cheat sheet
Trails only, in the dark
5 to 15 s, f/8, ISO 200
Manual focus on a lit subject, Daylight white balance, RAW.
Performer and trails
About 1 s, f/5.6, ISO 100 to 400
Shoot at dusk, or add a flash on rear-curtain sync.
Trails too bright
Lower the whip, then f/11
Shortening the shutter only cuts the spin short.
Shooting on a phone
Tripod plus a long exposure mode
Keep ISO low and turn the whip's brightness down.
Photographing a fiber optic whip FAQ
What shutter speed should I use for a fiber optic whip?
For trails only in the dark, 5 to 15 seconds. To show the performer as well, about 1/4 of a second to 2 seconds at dusk or with a flash.
Can I photograph a fiber optic whip with a phone?
Yes, if the phone has a manual or long exposure mode and you keep it on a tripod. On recent iPhones you can also turn a Live Photo into a Long Exposure in the Photos app.
How do I get the person in the photo too?
Add a little ambient light, fire a flash on rear-curtain sync at the end of the exposure, or have them hold still for a second before the shutter closes.
Is end glow or sparkle fiber better for photos?
End glow gives crisp, clean lines; sparkle gives a softer, fuller band. Both photograph well, so it comes down to the look you want.
Why is my whip just a white blob in photos?
Too much light for the settings. Lower the brightness on the whip, close the aperture to f/11, or drop the ISO.