How to Photograph Light Orbs: A Complete Light Painting Tutorial
 5 min read
The glowing orb, a perfect floating sphere of light, is the shot that hooks most people on light painting. It looks like CGI and takes about five minutes to learn. We are Ants on a Melon, we shoot these constantly, and this guide covers the whole thing: the gear, the exact camera settings, the spin technique, a few variations, and how to fix the mistakes everyone makes at first. It is a deeper dive on the orb from our guide to seven light painting techniques.
Stage 1: Set up your light, string, and space
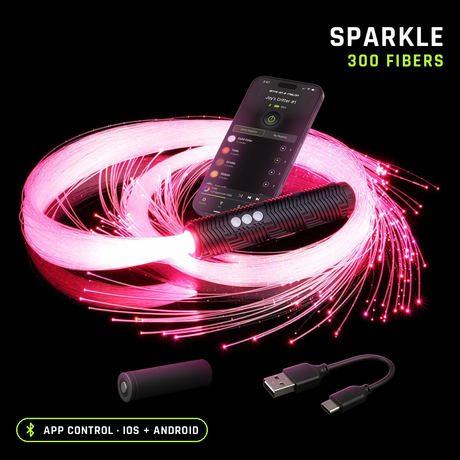
An orb needs surprisingly little: a camera with Manual or Bulb mode (a phone with a long-exposure app works), a tripod, a small bright light on a string, and darkness. We use the RGB Critter BT on a short cord so we can pick any color from the app, but any small bright light works to learn.
- Tie your light to a string about 30 to 40 cm long. Knot it tight; a light that flies off mid-spin ends the session fast.
- Set the light to one bright, solid color. Save the color-changing tricks for later; a single hue reads cleanest on your first orbs.
- Find a dark space, indoors or out. The darker the background, the cleaner the sphere.
- Put the camera on the tripod and pick the exact spot where you will stand. Mark it with your shoe, a coin, anything you can find again in the dark.
Stage 2: Learn the spin-and-turn (before you touch the shutter)
Practice this with the camera off. The motion is the whole trick, and thirty seconds of dry runs saves twenty ruined exposures.
- Stand on your mark and spin the light in a steady vertical circle at your side, like turning a small wheel next to your hip.
- Lock in one speed and one arm position. Every pass of the string should trace the same diameter.
- While spinning, slowly rotate your whole body a full 360 degrees on the spot.
- Aim to finish exactly one full body turn in about the time your exposure will run.
That is the entire technique. The vertical circle draws the sphere; turning your body wraps it all the way around into a ball.
Three habits that make the circle perfect
- Even speed beats fast. One smooth, complete rotation looks better than three rushed ones.
- Keep your arm and the string length constant so every pass traces the same diameter.
- Turn your body at a steady rate that finishes exactly one full circle by the end of the exposure.
Stage 3: Camera settings and the shot
These starting settings work in almost any dark location. Adjust from here, not from scratch.
- Mode: Manual or Bulb
- Shutter: 20 to 30 seconds (long enough to finish a full turn)
- ISO: 200
- Aperture: f/8
- Focus: manual, pre-focused where you will stand
- White balance: Daylight
Then shoot it:
- Pre-focus on your mark. The easiest way: stand a light on the spot, focus on it, then switch the lens to manual so the focus cannot hunt in the dark.
- Start the exposure with a 2-second timer or a remote so you do not shake the camera, and walk to your mark.
- Do the spin-and-turn exactly as you practiced: steady vertical circle, slow full-body rotation.
- Finish the complete turn before the shutter closes, then stop and hold still.
- Check the back of the camera. Adjust one thing at a time: turn speed first, then brightness or ISO.
Variations to try
- Orb beside a person: have someone stand still just outside the spin; the floating orb next to a sharp subject is the classic look.
- Color-shift orb: set the RGB Critter BT to a slow color cycle so the sphere fades through hues.
- Orb in a location: place it over water, a trail, or a cityscape for context and reflections.
- Floating orb: shoot from a low angle so the sphere appears to hover in mid-air.
Troubleshooting: fix it in one reshoot
Every one of these has a boring, mechanical cause. Nothing here is a gear problem.
| Problem | Cause | Fix |
|---|---|---|
| Gap in the sphere | Turned too fast or did not finish the rotation | Slow down; match your turn to the shutter time |
| Wobbly, uneven ball | Spin speed or arm position changed | Keep one steady speed and a fixed arm |
| You appear in the shot | Light clothing or stood still too long | Wear black and keep moving |
| Orb too dim or too bright | Light brightness or ISO off | Adjust brightness in the app, or drop ISO to 100 |
Gear you'll want
The light itself
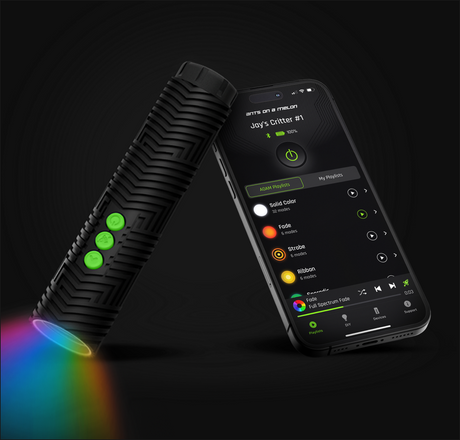
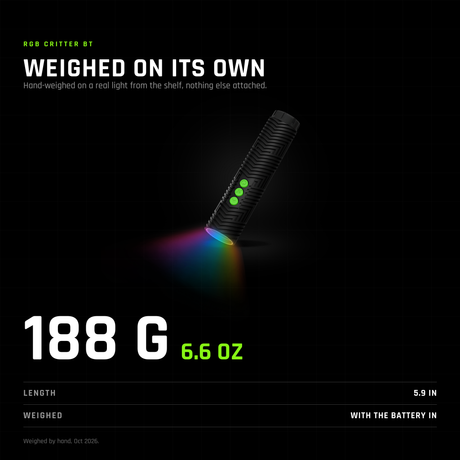
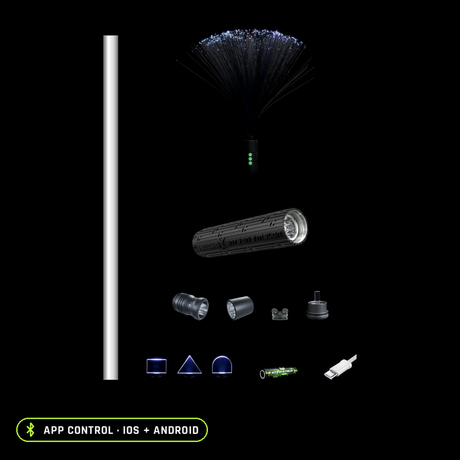
App-controlled, 170 lumens, 16.7 million colors and 145+ modes from your phone, and it works without the app too. It is also the removable core behind 200+ twist-on light painting tools, so it will not stop at orbs.
Starting from zero
Light Painting Photography Kit for Beginners
The beginner bundle costs less than buying the pieces separately.
Once orbs feel easy
Same twist-on light, completely different marks in the frame. Browse the rest of the light painting tools.
Want to pick your own combination?
Build it in the Kit Builder
FAQ: Light Orbs
How do you make a light orb in photography?
Spin a light on a string in a steady vertical circle while slowly turning your body a full 360 degrees, all during one long exposure on a tripod.
What settings do I use for light orbs?
Start at a 20 to 30 second shutter, ISO 200, f/8, manual focus, Daylight white balance, in a dark space.
What light is best for orbs?
A small, bright, single-color light on a string. An app-controlled light like the RGB Critter BT lets you change the orb's color and brightness easily.
Why is my orb not a full sphere?
Almost always because the body turn did not complete in time. Slow the turn so one full rotation finishes as the shutter closes.
Can I shoot light orbs with a phone?
Yes. Any phone with a long-exposure app, held steady on a tripod, can capture an orb. The technique is identical; only the shutter control changes.
You might also find these guides useful: